Preventing Condensation in Your DIY Lithium Battery Box
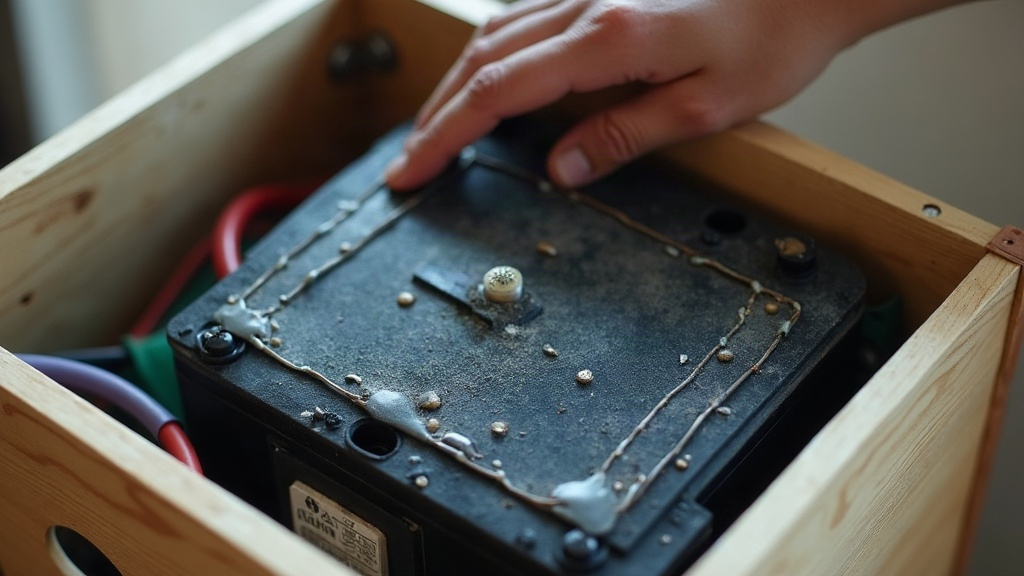
Building a DIY lithium battery (a custom LiFePO4 bank, say) is one of the smartest ways to power a camper van, boat, or off-grid cabin without paying retail prices. But there’s a quiet enemy in every one of these builds: moisture. Preventing condensation in your DIY lithium battery box isn’t optional if you want your cells to last, your copper terminals to stay corrosion-free, and your Battery Management System (BMS) to keep working instead of shorting out on you at the worst possible moment. Once you understand dew points, get your sealing or venting strategy right, and add some internal moisture control, keeping the whole system dry is honestly not that hard.
Why Does Moisture Accumulate in Battery Enclosures?
Condensation happens when warm, humid air meets a cold surface. That’s the “dew point,” the exact moment water stops being invisible vapor and starts becoming droplets on whatever’s nearby. In a camper van or a shed sitting off-grid somewhere, temperatures swing hard between day and night, sometimes by 20 degrees or more.
Here’s the problem: LiFePO4 cells have a lot of thermal mass, so they heat up and cool down slowly compared to the air around them. Picture this. It’s 6 a.m., the cells are still holding onto last night’s cold, and then the sun comes up and warm, humid air rushes into the box within the hour. That mismatch is exactly when you get water beading up on cell casings, busbars, and the delicate electronics sitting right next to them.
5 Ways to Prevent Condensation in Your DIY Lithium Battery Box
1. Create an Airtight Seal (With One Caveat)
The obvious fix is to just keep the moist outside air from ever getting in. Grab an enclosure rated IP65 or better (a heavy-duty ABS box, or even a used Pelican case works well). Seal the lid with a rubber gasket, and for every cable that passes through the wall, use proper waterproof PG cable glands, not just a hole with silicone smeared around it.
Here’s the catch: the moment you seal that box shut, you trap whatever humidity was floating around in the air that day. That moisture doesn’t disappear. It just sits inside with your cells until you deal with it, which brings us to the next step.
2. Add Reusable Silica Gel Desiccants
Before you screw that lid down for good, throw in a few large, reusable silica gel packs. They’ll soak up the leftover moisture and keep the internal humidity close to zero. Go for the indicating kind, the ones that change color (usually orange to green, or blue to pink) once they’re saturated. That way you know at a glance when it’s time to pull them out and bake them dry in the oven for reuse, instead of guessing.
3. Install Breathable Pressure Vents
Not every build lends itself to a fully sealed box, especially if you’re driving through mountain passes or places with wild altitude and temperature shifts. In that case, go the other direction: let the box breathe, but on your terms. A Gore-Tex vent (sometimes sold as a breather valve) equalizes pressure inside and out and lets water vapor escape, while still keeping liquid water and dust from getting in.
4. Insulate the Battery Enclosure
Insulation buys you time. It slows down how fast heat and cold move through the box walls, which softens the temperature swings that trigger condensation in the first place. Line the inside with a thin layer of closed-cell foam, neoprene or XPS board both work fine, so the outer shell isn’t transferring every overnight cold snap straight onto the air surrounding your cells.
5. Apply Conformal Coating to the BMS
Even if you nail everything above, plan for the worst case anyway. The BMS is the weak link here, packed with tiny surface-mount chips that will short out the instant they get damp. A silicone-based conformal coating brushed onto the exposed circuit board gives you a dielectric, waterproof barrier. (One warning: skip the heat sinks and connection terminals. Coat only the PCB itself.)
Common Mistakes to Avoid
- Using Unsealed Wood: Plywood is a popular choice when you need a box that fits an odd-shaped space, but bare wood soaks up moisture and lets it back out as temperatures shift, basically acting like a sponge next to your electronics. If you’re set on wood, coat it heavily with a marine-grade polyurethane before anything goes inside.
- Leaving Terminals Bare: Tiny amounts of condensation, even stuff you can’t see, will slowly oxidize copper busbars and ring terminals. Once you’ve torqued connections down to spec, add a light coat of dielectric grease or a battery terminal protector spray. It’s a five-minute step that saves you from a corroded connection two years down the line.
- Over-packing the Box: Cramming cells right up against the enclosure walls with zero air gap means every outside temperature drop hits them directly. Leave even a centimeter of space. That small buffer of air does more insulating work than people expect.
Using Heating Pads to Fight Moisture
A lot of DIYers wire in low-wattage silicone heating pads, mostly to stop the cells from freezing (charging LiFePO4 below 0°C causes permanent lithium plating and wrecks capacity over time). But there’s a bonus here: a heating pad set up correctly also fights condensation, since it keeps the cells a few degrees above the ambient dew point. Just don’t run one without a proper thermostat probe wired in. Otherwise you’re trading a moisture problem for an overheating one.
Conclusion
You’ve already put in the hours, the research, and a fair amount of money into this power setup. Don’t let a few stray water droplets undo all of that. Beating condensation in a DIY lithium battery box really comes down to three things working together: keeping humid air out, mopping up whatever moisture sneaks in anyway, and giving the sensitive electronics a physical layer of protection. Sealed box with desiccant packs, or a breathable vented enclosure, either path works fine as long as you actually build the moisture control in from day one instead of bolting it on after your first BMS failure.