Manual Gray Water Jugs vs Motorized Ball Valve Tanks: Upgrade Path
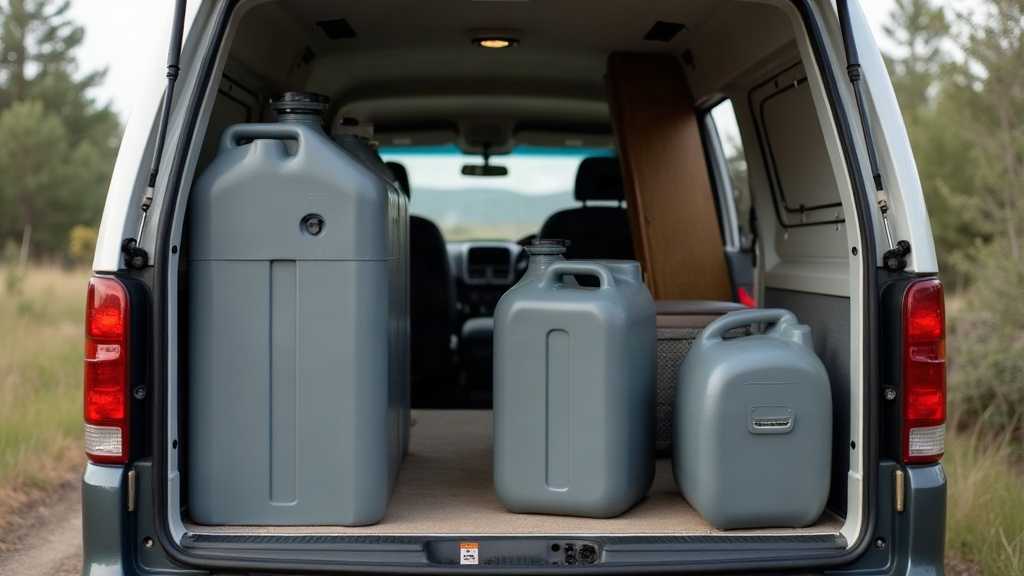
Manual Gray Water Jugs vs. Motorized Ball Valve Tanks: Which One Actually Fits Your Rig?
Manual gray water jug systems are cheap, portable, and dead simple to use. Motorized ball valve undermount tanks give you automation, way more capacity, and hands-free draining. Which one you need really comes down to three things: how big your rig is, what your budget looks like, and how often you’re out boondocking without hookups. This guide breaks down both systems and gives you a clear path if you decide to upgrade from one to the other.
What Is a Manual Gray Water Jug System?
A manual gray water jug system routes sink and shower wastewater into portable jugs (usually 5 to 7 gallons each) instead of a built-in holding tank. When the jug fills up, you haul it to a dump station or drain point yourself.
Pros:
- Cheap. You can set one up for under $100.
- No plumbing modifications required.
- Easy to install in vans, teardrops, or small trailers.
- No risk of tank freeze in cold climates, since you can just bring the jugs inside.
Cons:
- It’s manual labor. You’re lifting and carrying full jugs, every time.
- Limited capacity means you’re dumping constantly.
- Spills happen during transport more often than you’d like.
- Not great if you’re living full-time or running a high-usage setup.
What Is a Motorized Ball Valve Undermount Tank?
This setup uses a fixed, undermount holding tank (often 20 to 40+ gallons) paired with an electric or motorized ball valve, instead of the old-school manual pull-handle. Flip a switch, sometimes even from an app, and the valve opens so gravity drains the tank straight through your sewer hose.
Pros:
- Much bigger capacity, so fewer dump trips overall.
- Zero manual lifting or jug wrangling.
- Clean, hands-free draining at full hookup sites or dump stations.
- Makes a lot more sense if you’re living on the road full-time or taking long trips.
Cons:
- Costs more upfront. The valve alone runs $150-$400, and that’s before tank and install labor.
- You’ll need some wiring, mounting, and plumbing know-how to pull it off.
- More moving parts means more that can fail, and they can freeze in winter if you don’t insulate properly.
Which System Fits Your Needs?
Ask yourself a few honest questions before you spend any money:
- How often do you camp away from hookups? If you’re boondocking three weekends a month, a bigger undermount tank will save you a lot of hassle.
- What’s your rig size? A small van often just doesn’t have room for a large tank. Jugs stay the practical choice here.
- What’s your physical capability? Be honest. If hauling a 40+ lb jug sounds miserable, the motorized valve wins, no contest.
- What’s your budget right now? Jugs are the obvious starting point if money’s tight this season.
Step-by-Step Upgrade Path: Jugs to Motorized Ball Valve Tank
Ready to ditch the jugs for a motorized undermount tank? Here’s the sequence that actually works.
1. Assess Available Space
Get under the rig and measure the underbody area where a tank could mount without hitting the axle, frame rails, or exhaust. Don’t forget to account for how tall the tank gets once it’s full, not just empty.
2. Choose the Right Tank Size
Match the capacity to how much water you actually use. A couple showering daily typically produces 15-25 gallons of gray water a week. Pick a tank size that balances added weight against how often you want to dump.
3. Select a Motorized Ball Valve
Look for valves rated to handle gray water debris (think lint, food particles, soap scum) and marine-grade wiring that won’t corrode. A lot of people go with 12V actuated valves that include a manual override, just in case the electrical side ever fails on you.
4. Plumb the Drain Line
Connect the sink and shower drains to the tank inlet with proper slope, at least 1/4 inch per foot, so water doesn’t pool and start smelling after a week.
5. Install the Valve and Wiring
Mount the valve at the tank outlet, run your wiring to a switch on the dash or wall, and add a fuse so you don’t fry anything. Cycle the valve open and closed a few times before you seal it all up for good.
6. Add a Tank Monitor (Optional but Recommended)
A sensor-based monitor tells you when the tank’s getting full, no guesswork involved. Jug systems never had this problem since you could just look inside. With a bigger tank hidden underneath, though, a monitor becomes a lot more useful.
7. Test for Leaks and Function
Run water through the whole system, check every single joint, and cycle the valve a handful of times under full tank pressure before you take it out on the road.
8. Phase Out the Jugs
Don’t toss the jugs just yet. Keep one or two around as backup in case the valve fails or you end up dry camping somewhere unexpected. A little redundancy never hurts, even with a fully automated setup.
Maintenance Tips for Motorized Systems
- Flush the tank regularly with a built-in sprayer or tank wand so sludge doesn’t build up over time.
- Exercise the valve once a month even when you’re not draining anything, just to keep it from seizing up.
- Insulate exposed plumbing and the valve motor if you’re camping anywhere near freezing temperatures.
Final Thoughts
Manual gray water jugs make the most sense for small rigs and tighter budgets. Motorized ball valve undermount tanks reward the convenience-seekers and the full-timers who need serious capacity. Making the switch isn’t actually that hard either. With solid planning, the right valve, and careful plumbing, you can go from hauling jugs by hand to flipping a switch in about a weekend.