Reseal a Maxxair Fan Roof Gasket Without Removing the Unit
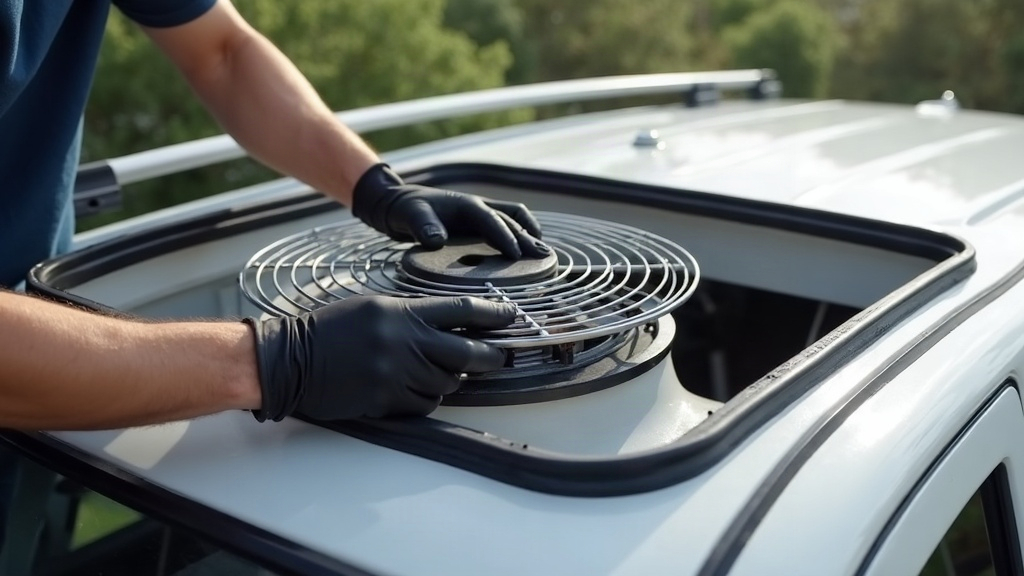
If your Maxxair fan started dripping the last time it rained, or you spotted a cracked bead of sealant ringing its base, don’t panic and don’t start unscrewing the whole unit from your roof. Nine times out of ten you can reseal the gasket from the outside, in an afternoon, with a handful of basic tools and the right self-leveling sealant. Below is the exact process, the products worth buying, and the mistakes that bring the leak right back a month later.
Why Maxxair Fan Gaskets Fail
Every Maxxair vent cover and fan base sits under a bead of roof sealant that glues the plastic flange to whatever your RV roof is made of (EPDM, TPO, fiberglass, aluminum, take your pick). Over time that bead:
- Dries out and cracks under constant UV
- Shrinks and pulls away at the edges
- Gets worked loose by the roof flexing as you drive
- Develops tiny pinholes where water sits and eventually finds its way through
Once that happens, water can track underneath the flange and travel along the ceiling before it shows up as a stain, sometimes a foot or two from where the actual leak is. That’s exactly why so many owners assume the whole fan is shot when really it’s just a tired seal doing nothing anymore.
Do You Really Need to Remove the Fan?
No. Not for a standard reseal. You only need to pull the entire Maxxair unit off if:
- The motor or lift mechanism is actually damaged
- The plastic base itself is cracked or warped
- You need to get at the butyl tape underneath the flange, not just refresh the top layer of sealant
If water’s only sneaking in around the edges and the fan still opens, closes, and runs fine, a surface reseal fixes it without touching the screws, the wiring, or that butyl layer buried below.
Tools and Materials You’ll Need
- Putty knife or plastic scraper
- Mineral spirits or a dedicated sealant remover
- Clean rags
- Painter’s tape
- Self-leveling lap sealant (Dicor or Geocel, NOT silicone)
- Disposable gloves
- Ladder and roof-safe shoes
Important: Never reach for standard silicone caulk on an RV roof. It doesn’t bond well when you reseal later, and worse, it stops other sealants from sticking to that spot at all. Dicor’s self-leveling sealant is basically the industry default because it stays flexible for years and matches what came from the factory.
Step-by-Step Resealing Process
1. Clean the Roof Surface
Pick a dry, warm day. Sealant cures better above 50°F, so don’t attempt this in a cold snap. Hold a putty knife at a low angle and scrape away the old, cracked sealant around the whole base of the fan. Go slow near the membrane, you’re trying to lift sealant, not gouge the roof itself.
2. Remove Residue
Dampen a rag with mineral spirits and wipe down the area to clear leftover sealant, grime, and any oxidation. Then let it dry completely. Trapped moisture under new sealant is probably the single biggest reason reseals fail within weeks instead of years.
3. Inspect the Flange Edge
Run a finger along the edge of the plastic flange. If it’s lifting more than a couple of millimeters off the roof, press it back down. For sections that won’t stay put, tuck a small bead of butyl tape underneath before you reseal on top. Skipping this step is how “quick fixes” turn into repeat jobs.
4. Mask Off the Area
Lay painter’s tape about half an inch out from the flange, all the way around. Takes two extra minutes and makes the difference between a clean, professional-looking line and a sloppy smear.
5. Apply Self-Leveling Sealant
Cut the tube tip at a 45-degree angle. Run one continuous, generous bead around the entire perimeter where flange meets roof. Don’t be stingy here, this stuff is engineered to self-level into a smooth, slightly domed bead over about 24 hours, so a thin, starved line won’t do its job.
6. Smooth and Tool the Bead
With a gloved finger or a sealant tool, lightly smooth the bead so it fully covers the seam with zero gaps. Then pull the painter’s tape right away, before the sealant starts to skin over. Wait too long and you’ll tear the bead pulling tape off.
7. Cure Time
Keep the rig parked and dry for at least 24 hours, no driving, no rain exposure. Full cure usually runs 1 to 3 days depending on how humid or cold it’s been.
How Long Does a Reseal Last?
Done properly, a self-leveling sealant job holds up for 1 to 3 years, give or take your climate. If your rig sits outside under brutal sun or swings between hot days and freezing nights, check it twice a year. Spring and fall are the natural windows for a quick inspection.
Signs You Need More Than a Reseal
- Roof decking near the fan feels soft or spongy (a sign water already got into the structure)
- The plastic Maxxair dome or base is cracked
- The fan wobbles, or won’t seat and seal when closed
- You reseal, it leaks again anyway, which almost always points to failed butyl tape underneath
If any of those show up, you’re past the point where another bead of sealant helps. That calls for a full teardown and fresh butyl tape, not round two of the same fix.
Final Thoughts
Resealing a Maxxair fan gasket without pulling the whole unit is one of those rare RV repairs that’s cheap, fast, and actually within reach for most owners, usually under an hour of hands-on work plus the cure time. The real keys are prepping the surface properly, sticking with self-leveling sealant (never silicone), and catching trouble before water starts working its way into the decking. Make roof inspections a twice-a-year habit and you’ll likely never deal with the expensive version of this problem, the one involving soft plywood and interior repairs.