Troubleshooting 12V Water Pump Air Leaks in Off-Grid Camper Plumbing
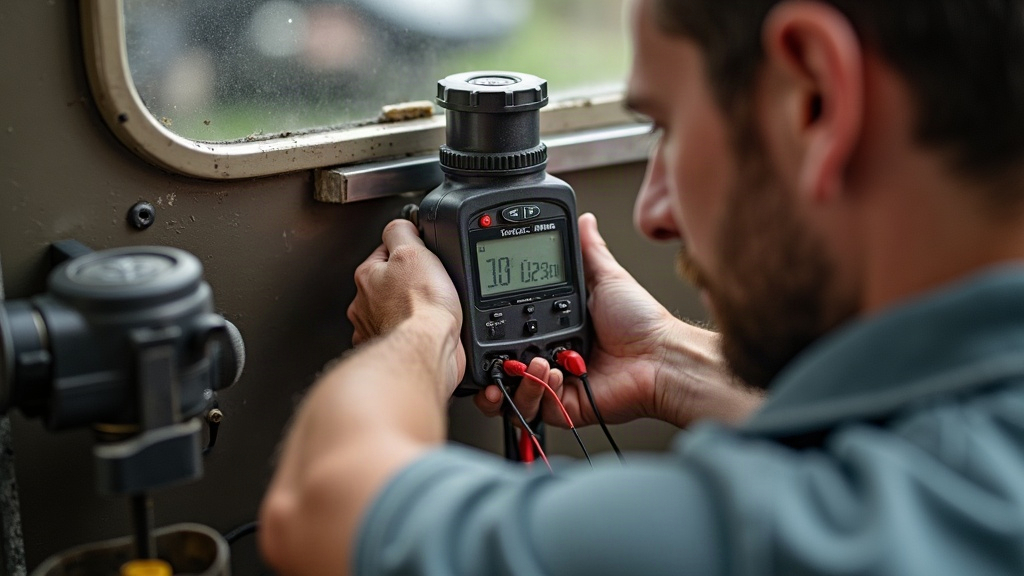
If your 12V water pump keeps cycling on and off, sputters air before water comes out, or just runs nonstop even with every faucet closed, chances are good you’ve got an air leak somewhere on the suction side of your off-grid plumbing. Here’s how to track it down and actually fix it, so the pump goes quiet and gives you steady pressure again.
Why 12V Water Pumps Are So Sensitive to Air
A home well pump pulls from a sealed system. Your camper’s 12V diaphragm pump doesn’t get that luxury. It pulls water from a fresh water tank through flexible tubing, a handful of fittings, and a strainer or filter, and each one of those connections is a place where air can sneak in. Since the pump is built to sense a pressure drop and kick on automatically, even a pinhole-sized leak is enough to send it into a fit of “chattering,” that rapid on/off buzzing you hear when it’s sucking air instead of building real pressure.
Common Symptoms of an Air Leak
- Pump cycles rapidly (buzzing on/off) even when no faucet is open
- Sputtering, spitting, or air-only flow at the faucet before water arrives
- Reduced or inconsistent water pressure
- Pump runs but delivers little to no water
- Milky or bubbly water visible in a clear line or filter housing
Step-by-Step Troubleshooting
1. Check the Water Tank Level and Vent
Before you start chasing leaks, rule out the obvious. Is the tank just low? Is the vent line blocked? A clogged vent creates a vacuum that mimics an air leak almost perfectly. Top off the tank, then trace the vent line to make sure nothing’s pinched or plugged.
2. Inspect the Strainer/Inlet Screen
The pickup tube and strainer sitting inside the tank is a classic weak spot. A hairline crack in the strainer housing, or just a loose hose clamp, will draw air straight from the tank’s headspace, and it gets worse the lower the water level drops. Tighten every clamp you find and swap out any strainer fitting that looks the least bit cracked or chalky.
3. Check Every Fitting on the Suction Side
Almost every air leak lives between the tank and the pump inlet, the “suction side.” That section runs under negative pressure, so a leak there pulls air in rather than pushing water out. That’s exactly why you won’t see a single drip, even though air is getting sucked in constantly.
- Inspect barbed fittings, hose clamps, and quick-connects one by one
- Wrap Teflon tape (2-3 layers is plenty) on any threaded NPT fittings
- Replace old or brittle tubing; PVC and vinyl hose goes porous and stiff with age, sometimes in just a year or two of sun exposure
- Check the O-ring on the inline water filter housing; a dried-out or pinched O-ring is one of the most common culprits out there
4. Do a Soapy Water Test
Mix up some dish soap and water, run the pump, and spray the solution over every suction-side connection you can reach. Watch closely: bubbles forming (instead of water simply beading up) means air is getting pulled in right at that spot.
5. Inspect the Pump Head Itself
- Check the pump’s own inlet fitting and whatever gasket sits at the pump body
- Some models include a small check valve or bypass valve; if the valve body has a hairline crack, it’ll leak air just like any other fitting
- Look over the mounting screws too. Crank them down too tight and you can crack the plastic housing right around the inlet port
6. Check the Accumulator Tank (If Equipped)
An accumulator’s job is to smooth out pressure swings and cut down on cycling. Lose the air charge, or get a leaking Schrader valve, and the pump will short-cycle even when there isn’t a single real leak in the system. Test that valve with soapy water exactly the way you’d check a tire valve for a slow leak.
7. Rule Out a Bad Pump Diaphragm or Check Valve
Sealed everything upstream and still no luck? The problem might be inside the pump itself. A worn diaphragm or a stuck check valve lets water (and air) bypass internally, and no amount of tape or new clamps will fix that. At this stage, a rebuild kit or a full replacement usually makes more financial sense than continuing to chase it, especially once the pump is past the 3-5 year mark.
Quick Fixes That Solve Most Cases
- Replace every worn hose clamp with new stainless steel ones. This one step alone resolves a surprising number of air leak complaints
- Re-wrap every threaded fitting with fresh Teflon tape
- Swap out old vinyl tubing sections near the tank connection
- Make sure the strainer basket sits fully submerged, well away from the tank’s low-water line
When to Call It a Pump Problem, Not a Plumbing Problem
Sealed every connection, accumulator’s holding its air charge, and pressure still won’t climb past 20-30 PSI? At that point the diaphragm assembly is almost certainly worn out. Most 12V RV pumps (Shurflo, SEAFLO, and similar brands) are cheap enough that a straight replacement beats a rebuild, unless you happen to already have spare parts sitting around.
Conclusion
Air leaks in off-grid camper plumbing show up on the suction side, between the tank and the pump, almost every single time. They rarely originate downstream at the faucets. Work through it in order: tank strainer, hose clamps, fittings, pump inlet, accumulator. Use the soapy water test to catch the leaks you can’t see or hear. Fresh clamps, new tubing, and properly taped fittings turn a constantly chattering pump into a quiet, reliable one, usually within an hour of actual work.